This article will explain how you can configure the mobile Azure Authenticator app when accessing resouces that have been protected by Azure Multi-Factor Authentication Server. The MFA server can be hosted either on-premise or within Windows Azure cloud services.
Before you begin you need three things:
- The Azure Authenticator mobile app installed on your device (links below).
- The MFA Activation Code
- The MFA Acvitation URL
![]()
![]()
Your System Administrator will be able to supply the activation code and URL. Alternatively you may use a QR code to activate the account. All of the screenshots below are from an iPhone installation so may vary slightly on Android and Windows phones.
Activate your MFA Account
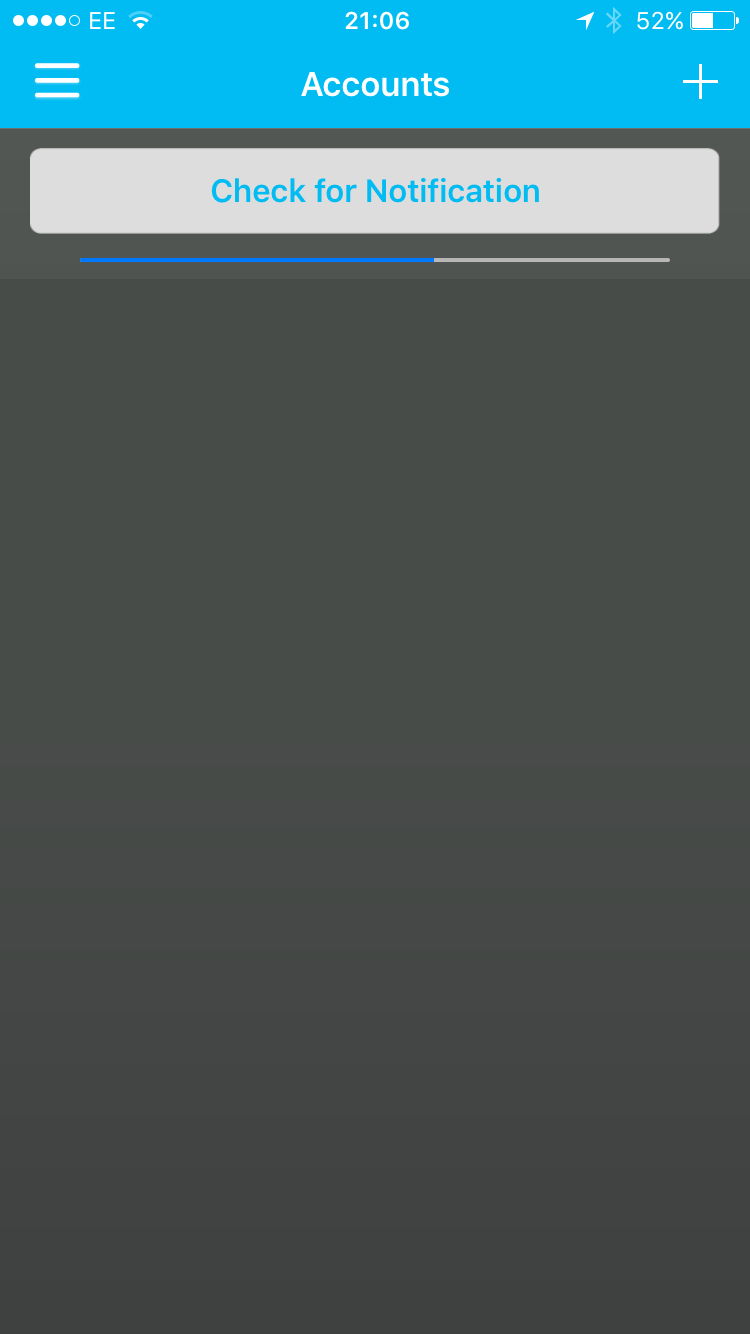
Once you have installed the app on your smartphone you first need to activate your account to gain access to your company resources. Open the app and tap the “+” icon in the top right-hand corner.
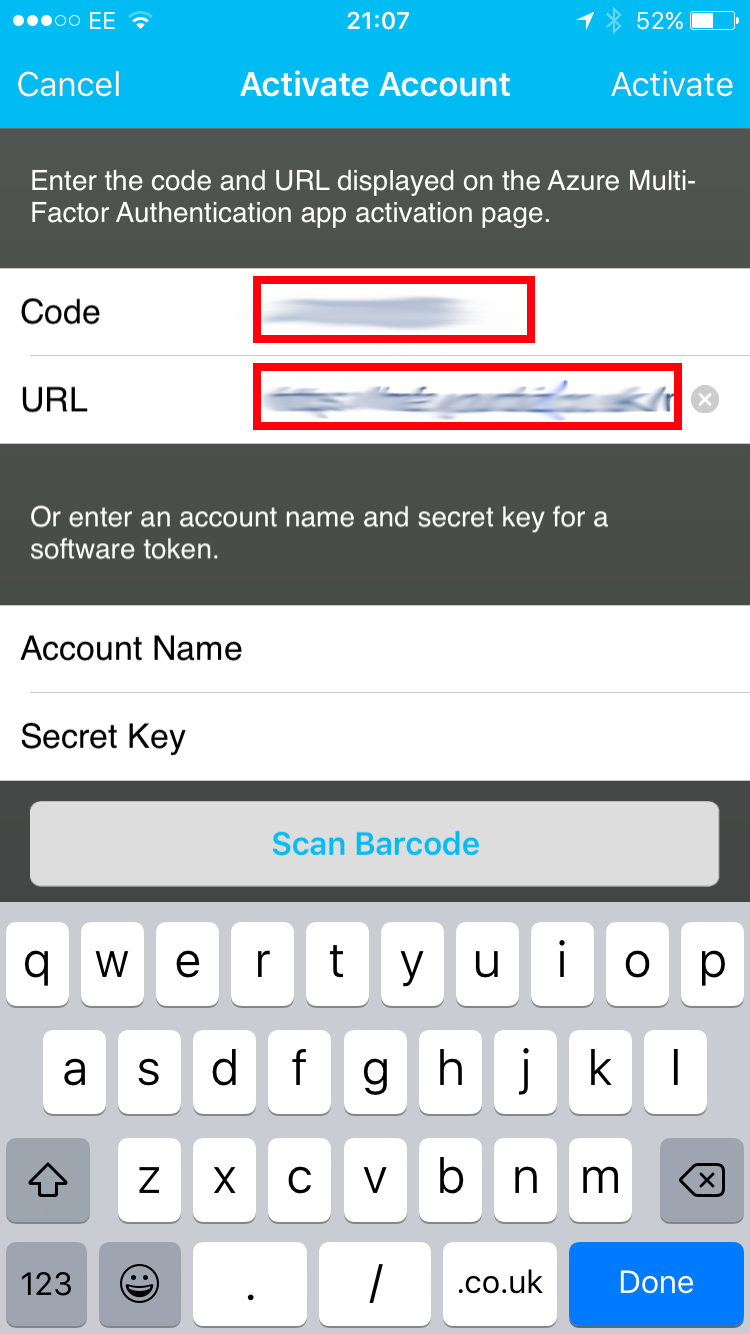
Then enter the activation code and URL that you have been given by your system administrator. Your device may try to access your camera to scan a QR code, if this happens select the “manual entry” option.
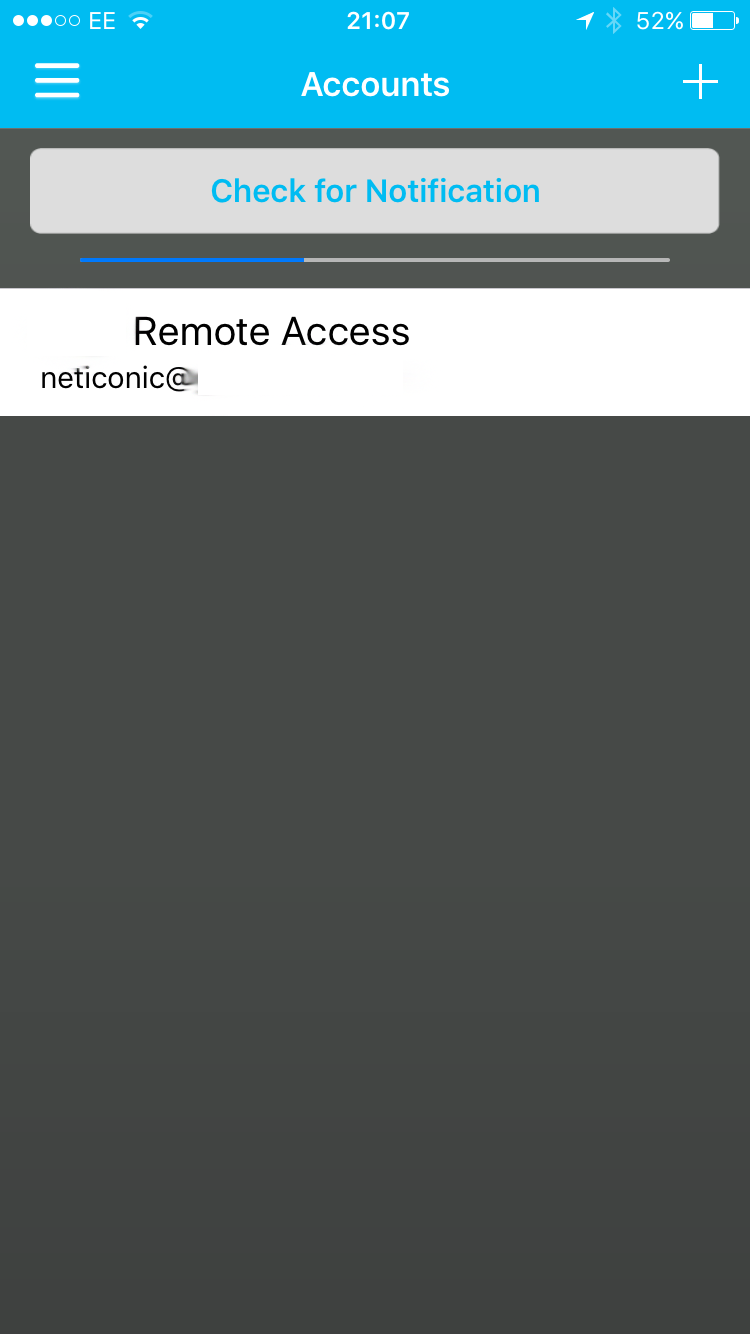
Once you have entered the details tap the “Activate” link and after a few seconds your account will be visible in the main app window:
Using the app when logging in
Now your account is activated you can use the app to provide the second layer of authentication on resources that have been configured for two-factor authentication, e.g. Remote Desktop Services.
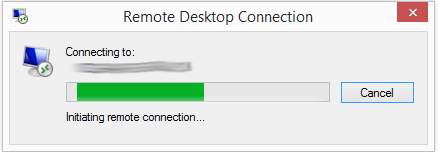
When logging on to the target server you connect using the same Remote Desktop Connection application as you would do normally, entering your domain username and password when prompted. The server then detects your login attempt and sends your details to the MFA server to provide further authentication. While the server waits for your MFA authentication it will show the normal login process:
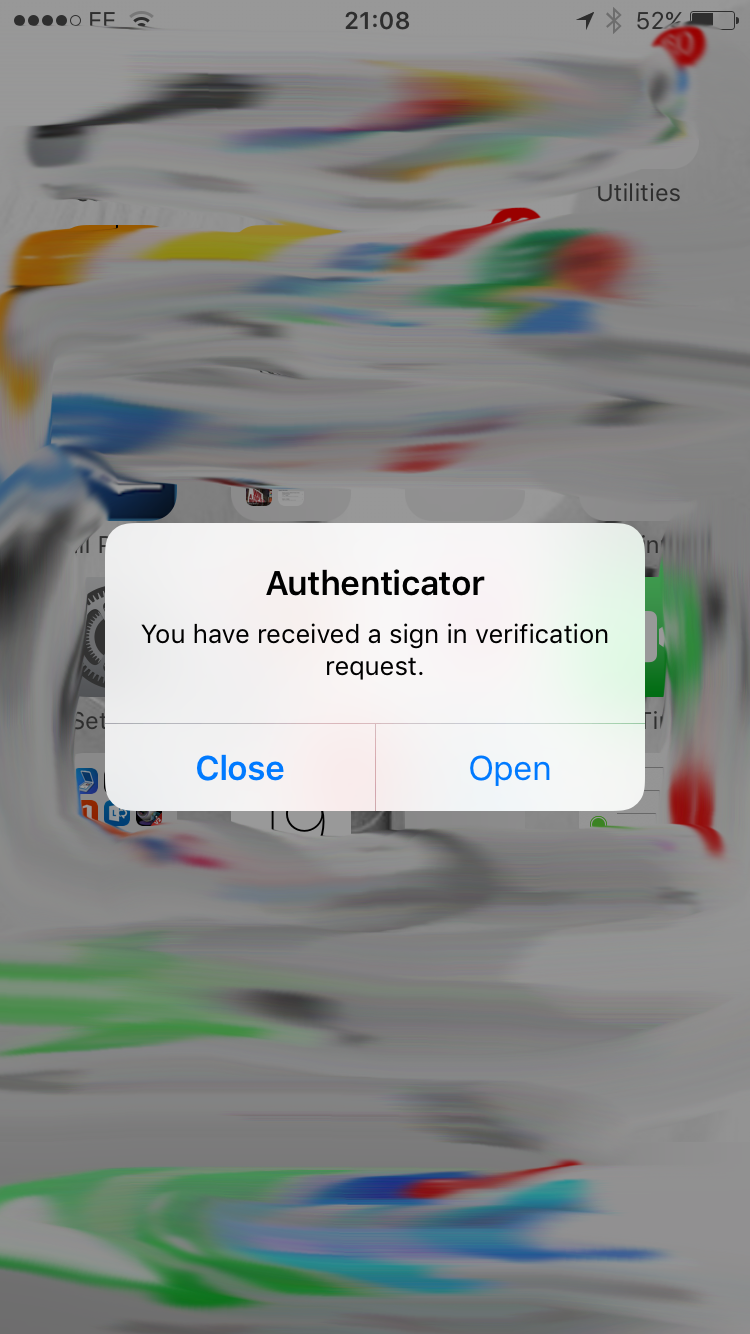
During this your phone will receive a push notification to verify your access:
Open the Azure Authenticator app and click the “Verify” button when prompted:
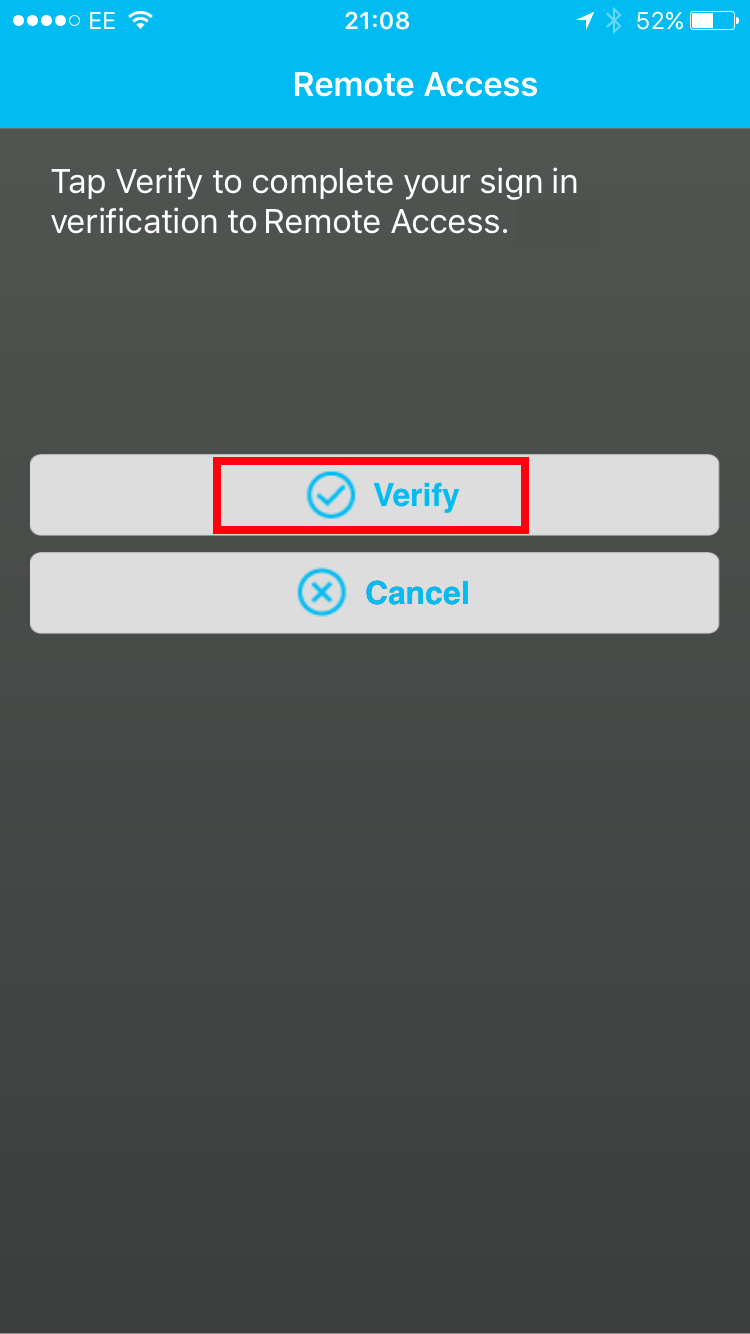
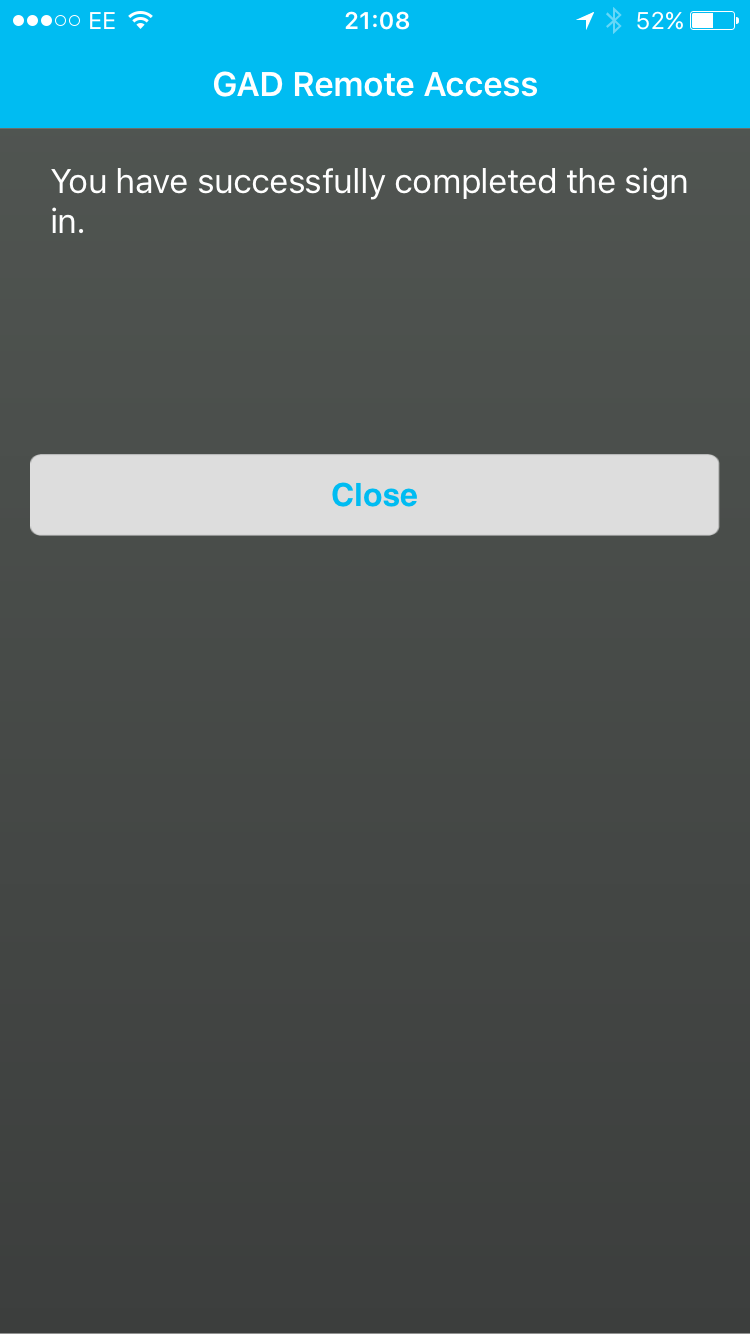
Once you verify your login request your logon to the server will proceed as normal and you can click the “Close” button to close the Authenticator app.